Sunday, May 13, 2012

A Couple of Great Events - Barbot and Drinco de Mayo

It's amazing sometimes how much can happen in a couple months. In March, we went to Barbot 2012 in San Francisco to mingle with like minded cocktail making technologists. It was great to see familiar faces and meet new ones. Bartendro's aesthetic was spot on. It was a bold, shiny, well-lit piece of art. The bot performed admirably on Friday night dispensing 172 drinks, but we ran into some hardware/software issues that almost made the bot inoperable at the start of the Saturday run. We muscled through several issues and brought half of the pumps back to life for a usable 6 drinks. People were still impressed it could make that many, since most other bots were only doing 1 or 2 drinks. We were dismayed though because we had a selection of 30 drinks the night before. People were overall thrilled and welcoming of our robotic future, where drinks come with a button press. We got mentioned in a Make Blog about how we are "veering dangerously close to commercial viability."

Flickr Set of Barbot 2012


At the end of the event we stayed up late into the night rehashing all the things that could have gone better; a post-mortem analysis if you will. We agreed that upside down bottles were not the way to go. The upside down bottle concept carried over from our original desires to have a gravity-fed machine. The aesthetic is really cool. It seems like it would be a simple, no-fuss no-brainer; you can see the bottles and just swap them out when they run out. The problem arises when catering to larger crowds, not being able to refill the bottles as people are using the machine can cause quite a bit of downtime and this is a pretty big issue if this machine is to live in a commercial application. Also, the vent holes on the bottle caps (needed to not cause a vacuum) were prone to being leaky and messy. From looking around at the other bots this year, it seemed apparent that the winning combo is upright bottles and peristaltic pumps.

We made a long list of things to fundamentally change about our design. We would ditch the stainless steel skin and go with a simpler design. The pumps would also need a form of adjustability to reduce leakage and contamination of drinks. Over a couple of months I iterated over modification designs that would allow for adjustment with one knob. Finally, we had something worthwhile. I retrofitted the pump with new tubing to and re-routed it. Meanwhile, in software land, the UI received a face lift. Elements could now be added or removed at will depending on the type of party, things like drink size and taster buttons were made optional. Drinks could also be modified on the scales of alcohol strength and sweetness/tartness. We prepared and showed up at an event called Taco de Mayo, where our friend rents a taco truck that serves endless tacos. Naturally, our bot was transmorphed into a margarita bot. There was 6 different kinds of tequila that could be selected to go into your drink and even a game to check for sobriety if you selected the top-shelf stuff. Several other drinks could be made too including a Dirty Sanchez and White Oaxacan. 201 drink dispensed in all. Our best performance yet. We received great tips and ideas from our friends to pursue. We're going to take our technical hats off for a month and put our business ones on to try to go make this available at your favorite restaurants. Cheers!

Sunday, February 26, 2012

Light Your Bot!

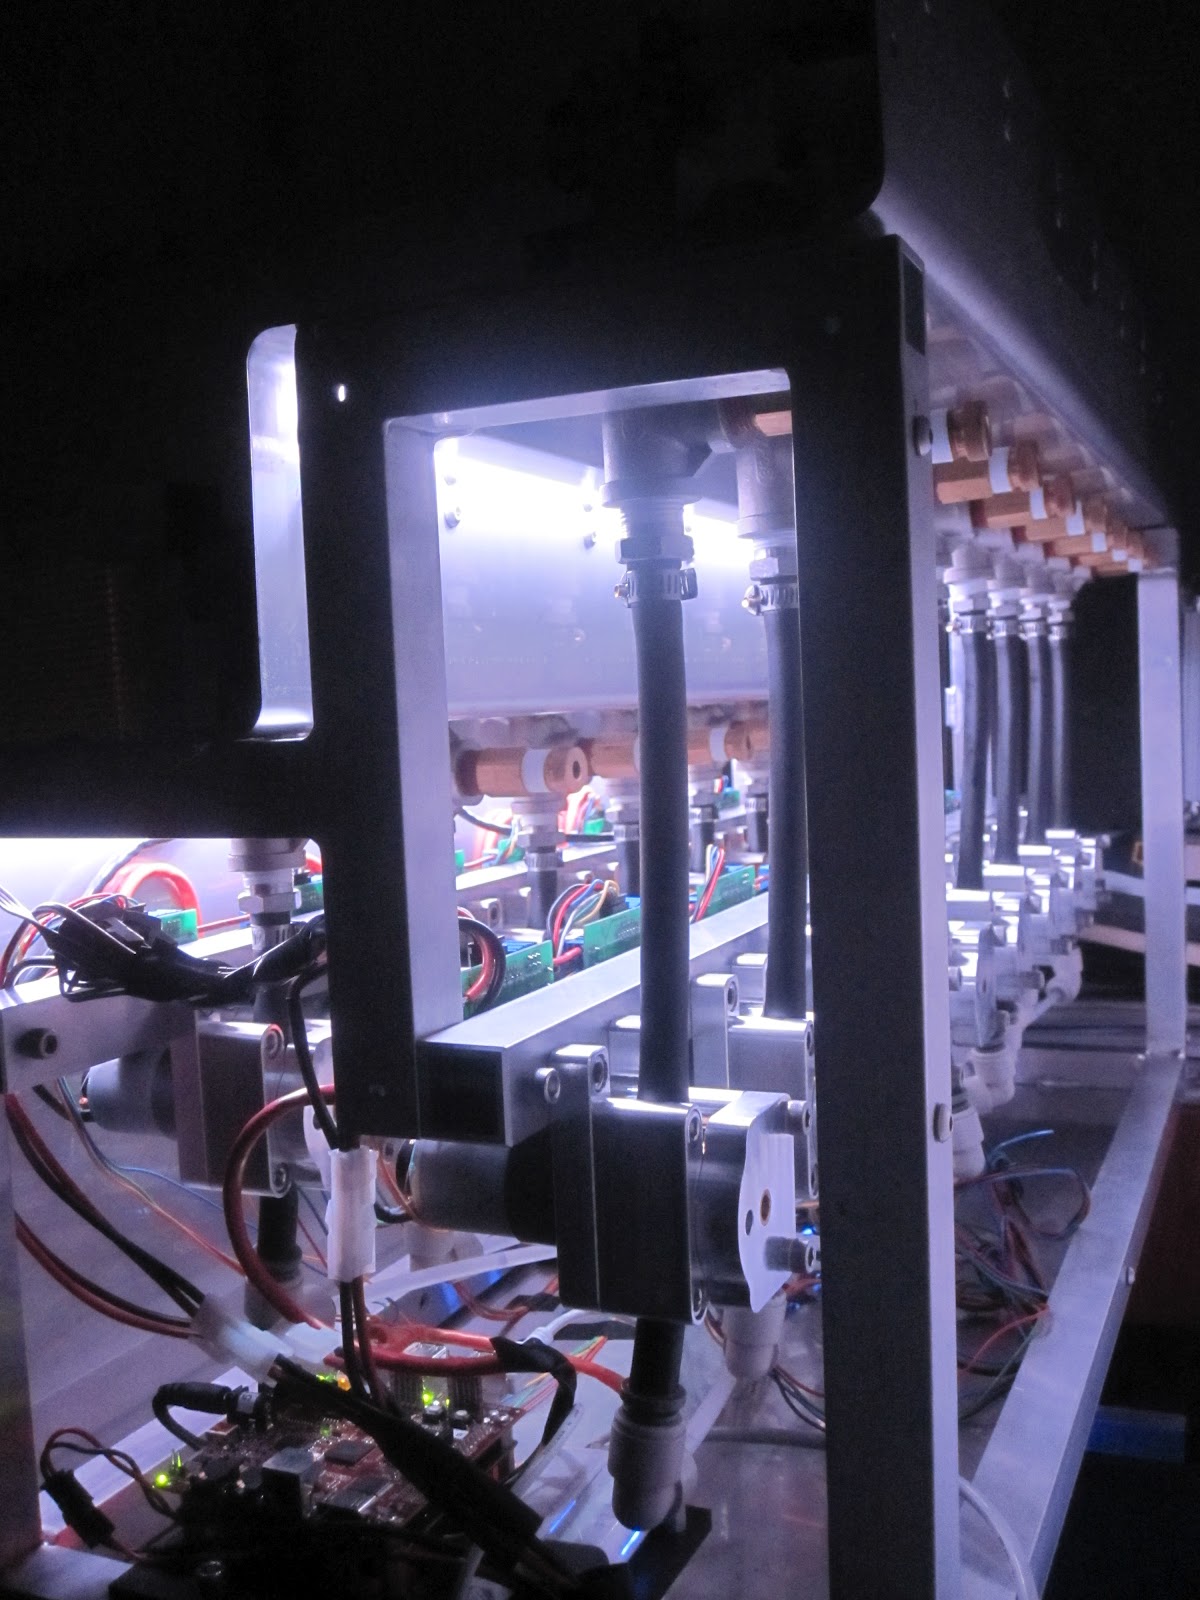
In most of our projects, it seems like we always relegate LEDs to the backburner while we focus on everything else. Fortunately, we had the forethought on Bartendro to squeeze the hardware in at the design phase, even though we didn't get to work on the software side for a long while. Good LED effects are undeniable. With good placement and intelligent programming, they can make a product sing. Bartendro is case in point. The LEDs in the back are dual purpose, they light the bot with a silky purple haze for people to enjoy the view of the innards, but the color can be changed to pure white for brighter easier debugging in a perfectly dark room. The ring of RGB LEDs which hover directly over a user's cup serve many purposes. They let us know when the bot has booted and is ready for communication, and they let users know what's going on in the process of their drink creation. A pattern while it pours, and flashing green when the drink is done being poured. When all is said and done, a soft blue lets the user know that the machine is in an idle state and ready to take on more drink orders. There are even more LEDs that aren't powered up yet, which are supposed to emit focused light from the faucet. The intent is that they cue users as to where their cups should be placed. So when working on your projects, make sure to let your LEDs shine!

Sunday, February 12, 2012

The Setup

Designing a cocktail dispensing machine may not sound very difficult, but when one considers that most of the components are not readily available for purchase off the shelf, one must design their own. There are a lot of tools that go into creating a complex electro-mechanical machine like a drink bot. There are solid modeling tools, like SolidWorks and Alibre, CAM tools like SprutCam and the software that runs a the CNC machine, like Mach 3. The CNC machine is a PCNC 1100 made by Tormach, and it is a joy to use. All of the tools need to work in unison to achieve the desired results. These tools cover the basics required for machining parts. When it comes to the electronics, schematic and layout tools are required. In my case, I used EagleCAD because of the existing community and pre-made parts that allowed for fast development time. Boards can be cheaply fabricated in China by Golden Phoenix and modules from Sparkfun and Pololu make development even easier and more modular.

All software tools have their quirks, and when it comes down to it, it is just a matter of patience to learn how to use things in an efficient matter. Having these hardware and software tools in place allows us to iterate over and over tuning and refining until we are happy with the quality and performance of our creations. The tool set allows us to also make a wide array of parts, mechanisms and machines that make people's lives easier and more enjoyable. So, get some tools and start creating!

Sunday, January 29, 2012

Peristaltic Pumps

Peristaltic Pumps are not new, they are pumps that mimic peristalsis, a biological mechanism most commonly depicted as the muscle contractions of a swallowing esophagus. The vast majority of these pumps serve the medical and pharmaceutical industries. This does not bode well for hobbyists because the pumps are priced at an average of $300 each. When attempting to build a cocktail machine that dispenses over a dozen liquids, the cost becomes prohibitive.

"Why use a peristaltic pump in the first place?", you might be thinking. Well, for many reasons. The first and most obvious reason is maintenance. Since liquid does not pass through any moving parts, it becomes easy to swap out or clean hoses when necessary. In the same vein, reliability. Syrupy liquids like grenadine and Bailey's tend to gum up mechanical pumps and valves pretty quickly. Sanitation then becomes another issue when liquids become trapped in the crevices of a mechanical assembly and become impossible to clean. Finally, accuracy and simplicity are the final components that put the nail in the coffin on other approaches. While gravity valves and simple diaphragm pumps are a possibility, there is still a big issue with dealing with different densities and viscosity of liquids. Since peristaltic pumps are positive displacement, meaning they dispense the exact same amount of volume with every revolution of the motor and gearhead, it simply becomes a software problem to account for the number of motor rotations for accuracy. This is much easier and cheaper than fashioning some sort of flow rate meter.

When designing the pump, several factors need to be taken into account such as the occlusion of the tubing, the ease of assembly/dis-assembly of the tubing, maintainability and modularity. The picture shows the parts for the first batch of peristaltic pumps I made. There is a plate that the motor mounts to, a hub with sleeve bearing rollers, a shoe which is replaceable and provides the right amount of occlusion, and a support for the hub that prevents lateral motions from causing it to run to eccentrically. All in all they can be built for under $100 given the right amount of tools and resources.


Sunday, January 22, 2012

Bartendro 2 Frame and Enclosure Build

We built the frame using 1" aluminum square tubing, which seemed to offer the best balance between weight and strength. The individual pieces were cut to length on a milling machine and the edges that were going to be butt or T-joint welded were chamfered to reduce the amount of weld bead that would need to be ground down afterwards. Jerad TIG welded the frame together using his new beefy Bessey corner clamps, it only took him a couple of hours. 

The enclosure itself was made of 16 gauge 304 stainless steel. 12 and 14 gauge were considered at first because less structural members would be needed, but the cost of thick stainless was prohibitive. The 32" overall length emerged from the hassles of transporting the original Bartendro. Two people were required to move the machine, and it could only fit into a sedan that had its passenger seat removed, and still it would gouge chunks out of the interior in the process. The design criteria were simple: fit through a door frame, fit in the trunk of my Honda Accord, and be able to be carried by one person. Getting the sheet metal sheared and bent took about a week to get from the metal workers. Then the stainless steel tee fittings were post-machined and welded to the enclosure. Their precise outer diameters helped maintain a consistent and repeatable weld joint. 

The PVC coating on the sheet metal was really important in ensuring the finished product looked good and wasn't scratched up from the cutting and bending processes. I learned that it is really important to make holes in the stainless steel sheet first before making holes in the aluminum. Aluminum is really soft relatively, and is very easy and forgiving to make holes in later compared to stainless steel. Stainless work hardens quickly, meaning one cannot be timid when making a hole or cutting because it only makes matters worse.

Unfortunately, when the tee fittings were welded in place, the sheet metal warped a little on the narrow stretches, alternating between concave and convex. The additional members that were welded across helped to keep things uniform, but it was the use of panel clamps that made keeping things straight possible. They are quite useful tools, used frequently on auto body work, they allow sheet metal to be held in place yet still allow for minor shifts to help in the alignment process. Once the main panel was lined up, it was secured with  an abundance of clamps. Holes were drilled and tapped into the frame and the panel fastened with shiny button head screws. 

Sunday, January 15, 2012

Water to Wine. Sacrilegious fun for all.

Yesterday, Lauren Blomberg and Brian Matis came over to drink wine and help me with a photo shoot for Make magazine. Brian had taken dozens of shots in August '11 of the broken down components and assembly procedure from start to finish. The shots were well lit and well composed. Fancy white photo umbrellas go a long way apparently, when it comes to taking good shots.

The editor at Make recently started working on the article so it can go into their next issue, I believe volume 30. He found that he was missing some action shots though, with wine actually coming out of the machine. When we disassembled the machine for the August shoot, connectors, tubing and wires were cut and it sat that way for a while. Needing to take the action shots was good motivation to put it all back together. I used some new food grade tubing from the local beer brewing supply and put it all back together.

We took dozens of shots in the kitchen while spilling water and wine now and again as we tried to work air out of the lines. After about half an hour of fussing, everything was primed and ready. That's when the silliness began. As we drank more and more wine, we began to become more intimate with the machine. Finally, Lauren thought it would be a good idea to put her mouth up directly to the outlet and consume that miraculous goodness. It was priceless.